If you live among the sun-soaked palm trees of the Florida coast or rub elbows with Hollywood’s elite in Los Angeles, you probably don’t spend much time thinking about icy driveways. However, if you spend your winters buried deep in the snow of the frigid north, you may be curious about retrofit driveway heating systems.
Before spending too much time daydreaming about the luxury of a retrofit heated driveway, it is vital to consider some factors that pertain to such a system.
Is it even possible to retrofit driveway heating systems? Having all the information to make an informed decision for your home’s icy driveway is essential.
Why Add a Heating System to Your Driveway?
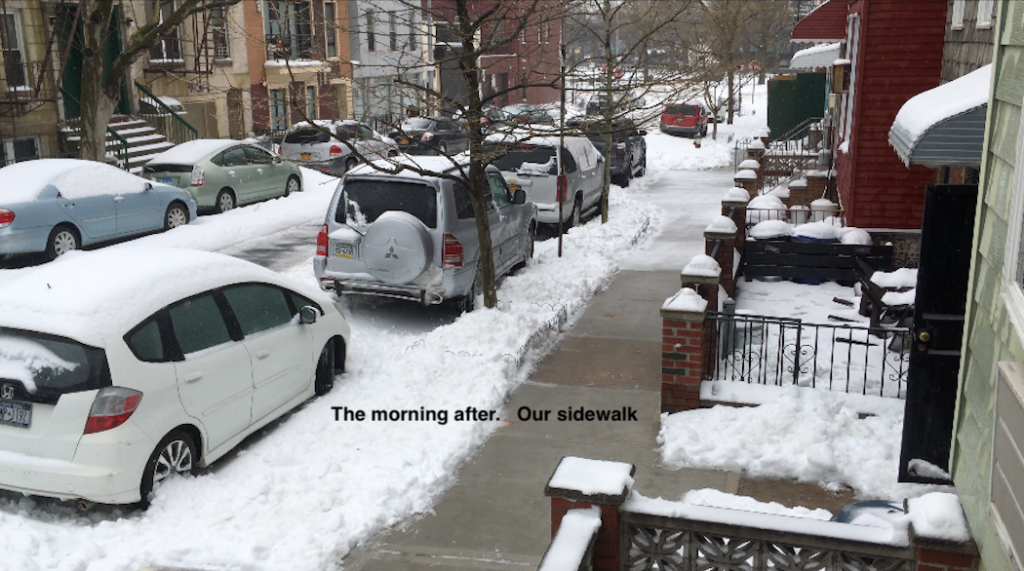
If you have ever walked out onto your driveway only to slip and fall on the treacherous ice, you know the benefits of a heated driveway.
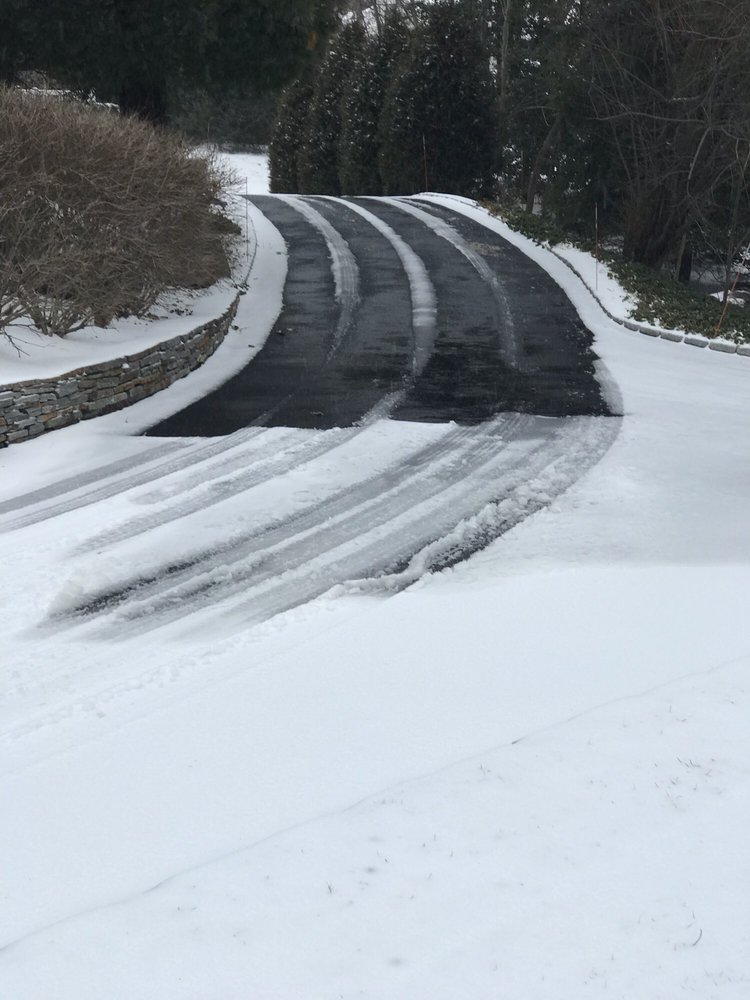
Additionally, if you live on a hill or have a sloping driveway, you know how detrimental a frozen driveway can be.
Having your car slip down your driveway or not being able to climb the iced-up slope can be a white-knuckled endeavor.
You can salt your frozen asphalt, but that can only do so much. A heated driveway retrofit can help ensure you never slip, fall, or slide in your driveway again.
Is it Possible to Retrofit your Driveway to Add a Heating System?
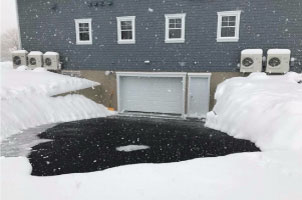
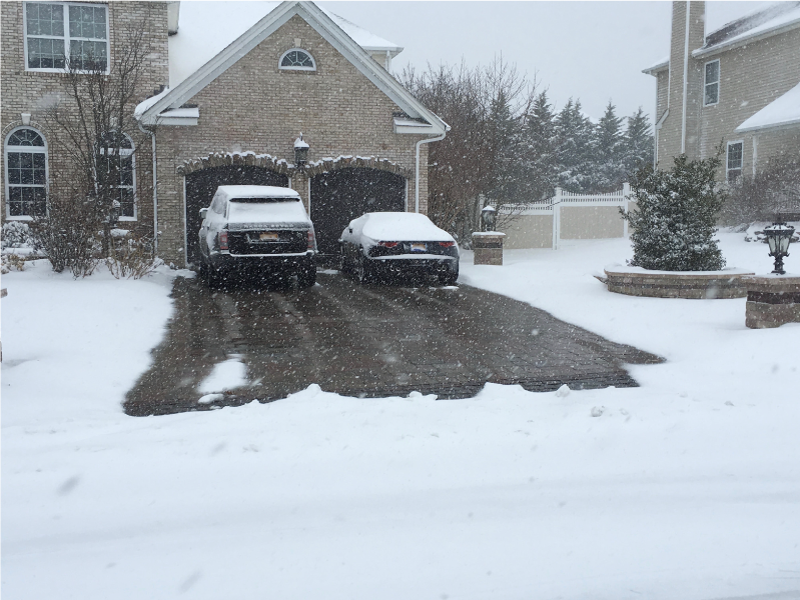
So, can you retrofit a heated driveway? With Warmup, the answer is yes!
Using Warmup’s revolutionary heating cablesand mats, you can achieve a snow and ice-free driveway this winter and for many winters to come.

2 Ways to Retrofit a Driveway with a Heating System
There are two main ways to do a heated driveway retrofit, either laying cables on your existing driveway and pouring a new asphalt layer over them or laying cables on your current driveway and installing pavers over them.
While both methods work, they each have their own unique pros and cons:
1. Layout Heating Cables Over the Existing Driveway and Pour a New Layer of Asphalt
The most common way to retrofit driveway heating systems is to lay Warmup’s snow-melting products on top of your existing driveway and cover it with a new 2” layer of asphalt.
- Repair any cracks, splits, or other damage to your existing driveway surface.
- Rough in the appropriate electrical from your house.
- Determine your cable or Snow Melt Mat layout.
- Securely lay Warmup snow-melting products on top of your existing driveway.
- Test your snow-melting product with a multimeter to ensure there are no faults.
- Let your asphalt cool to 230 degrees Fahrenheit or lower before pouring it onto your cables or heating mat to avoid damage.
- Cover your heating elements with a maximum of 2” of asphalt for optimal performance.
- Hand roll asphalt. Do not use equipment exceeding one ton in weight to avoid damaging your product.
- Test your snow-melting product with a multimeter to ensure there are no faults.
- Connect your system and enjoy a snow and ice-free driveway.
It is crucial that during the installation process, you take extreme care not to drive any equipment or machinery on the exposed heating mat or cables, as this can result in damaging the product.
It is also important to note that only a licensed electrician should install and connect your Warmup snow-melting products.
2. Layout Heating Cables Over Existing Driveway and Cover it with Pavers
Pair luxurious driveway heat with the stunning beauty of pavers to create an elegant and practical driveway solution:
- Repair any cracks, splits, or other damage to your existing driveway surface.
- Rough in the appropriate electrical from your house.
- Pour a layer of sand, screed to one inch, and compact with a plate compactor.
- Determine your Snow Melt Mat layout.
- Securely lay Warmup Snow Melt Mat onto the compacted layer of sand.
- Test your snow-melting product with a multimeter to ensure there are no faults.
- Pour a layer of sand on top of the Snow Melt Mat.
- Install Pavers.
- Test your snow-melting product with a multimeter to ensure there are no faults.
- Connect your system and enjoy a snow and ice-free driveway.
It is crucial that during the installation process, you take extreme care not to drive any equipment or machinery on the exposed heating mat; this can result in damaging the product.
It is important to note that only a licensed electrician should install and connect your Warmup snow-melting products.
Find the Best Driveway Heating Systems with Warmup
If you want to transform your driveway from an ice skating rink to a beautiful, low-maintenance part of your home, Warmup has you covered.
For over twenty-five years, Warmup has been developing energy-efficient and cost-effective products engineered to provide you and your family with luxurious heat all winter.
From cutting-edge snow-melting technology to innovative smart thermostats and revolutionary heating mats, Warmup has the products you need to stay comfortable and cozy.
Contact Warmup, view their entire lineup of products, or get instant pricing online today and discover why Warmup is the world’s best-selling floor heating brand!